Image Source: Google
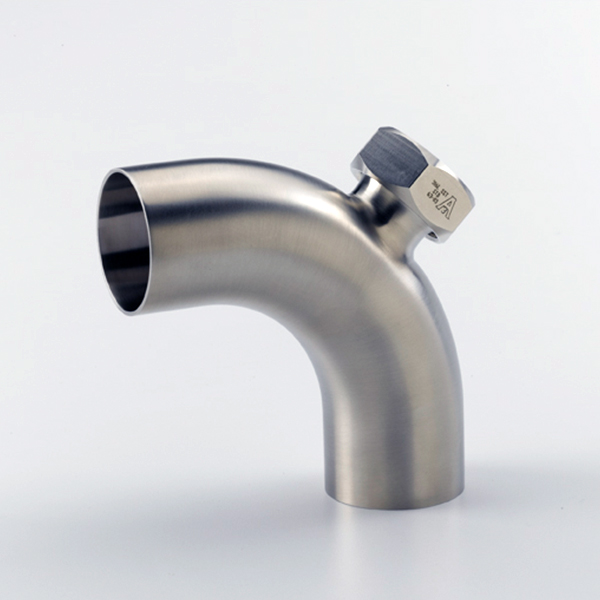
Stainless steel welding can be a challenging process, especially when it comes to creating perfect elbow joints. However, with the right techniques and knowledge, mastering this art is certainly achievable. In this guide, we will walk you through the steps to create flawless elbow joints when welding stainless steel. You can also contact Eco Fitting Valve to find the right stainless steel welding elbow.
Choosing the Right Equipment
1. Welding Machine
- Make sure to use a TIG (Tungsten Inert Gas) welding machine for stainless steel welding.
- Ensure the machine has the appropriate settings for stainless steel and that you have the right type of tungsten electrode.
2. Gas and Consumables
- Use pure argon gas as the shielding gas for stainless steel welding.
- Have the right filler material that matches the grade of stainless steel you are working with.
Preparing the Workpiece
1. Cleanliness is Key
- Thoroughly clean the stainless steel surfaces to be welded to remove any contaminants like oil, grease, or dirt.
- Use a stainless steel wire brush or a chemical cleaner specifically designed for stainless steel.
2. Fit-Up and Alignment
- Ensure the pieces to be welded are properly aligned and fit snugly together.
- Use clamps or fixtures to hold the pieces in place during welding.
Executing the Weld
1. Technique
- Hold the TIG torch at the right angle (around 10-15 degrees from vertical) and maintain a consistent travel speed.
- Move the torch in a controlled manner, creating a smooth and continuous weld pool.
2. Welding Parameters
- Set the welding machine to the appropriate amperage and voltage settings for the thickness of the stainless steel.
- Experiment with the settings on a scrap piece of stainless steel to find the right parameters before welding your actual workpiece.
Creating the Elbow Joint
1. Understanding the Angle
- Determine the angle at which the elbow joint needs to be formed and mark it on the workpiece.
- Ensure the pieces are securely positioned at the desired angle before starting the weld.
2. Welding the Elbow
- Start the weld at the joint where the two pieces meet, creating a strong fusion between them.
- Move the torch along the joint, maintaining a uniform bead size and shape for a seamless elbow joint.
Post-Welding Steps
1. Cleaning and Finishing
- After welding, clean the welded area with a stainless steel brush to remove any slag or discoloration.
- Use a stainless steel cleaner or passivation solution to restore the natural finish of the stainless steel.
2. Inspection and Testing
- Inspect the weld for any defects or imperfections, such as cracks or porosity.
- Perform a dye penetrant or radiographic test to ensure the integrity of the weld, especially for critical applications.
Conclusion
Mastering the art of stainless steel welding, especially when it comes to creating perfect elbow joints, requires practice, patience, and attention to detail. By following the steps outlined in this guide and continually honing your skills, you can achieve flawless results in your stainless steel welding projects. Remember to always prioritize safety, wear appropriate protective gear, and consult with experienced welders if needed. With dedication and perseverance, you can become proficient in creating perfect elbow joints through stainless steel welding.